How to Capture the Magic of Darkness with the Right Approach and a Bit of Patience
One of the first lessons beginner photographers learn is that a good photo requires plenty of light. And indeed, when there’s lots of light, it’s much easier to take a technically high-quality photo. But the real magic begins when night falls. That’s when creativity truly comes into play – with the right choice of frame, exposure, and composition, night photos can become true works of art.
What Is Exposure and Why Is It Important at Night?
Exposure, in short, is the amount of light that reaches the camera sensor while taking a photo. It determines how bright or dark the image will be. In daylight, the camera almost always handles exposure automatically and successfully. But at night, things become more complex.
If you rely on automatic settings, your night photo will end up looking like it was taken during the day – well-lit but lacking the atmosphere of the night. This happens because the camera “thinks” it needs to make the photo as bright as possible to fully utilize the sensor, ignoring the ambiance you’re trying to capture.
That’s why most serious photographers use manual (M) mode to control shutter speed, aperture, and ISO themselves. More advanced cameras often don’t even include night scene modes, assuming the user knows what they’re doing and how to achieve it. So, when shooting at night, exposure control should never be left to the camera alone.
If you’re just getting into night photography, the most important thing is that your camera has a night shooting mode. Even better is if it offers manual exposure control and the ability to shoot in RAW format – that way, you retain the most image data for editing later.
Subject and Composition – Day and Night Are Not Quite the Same
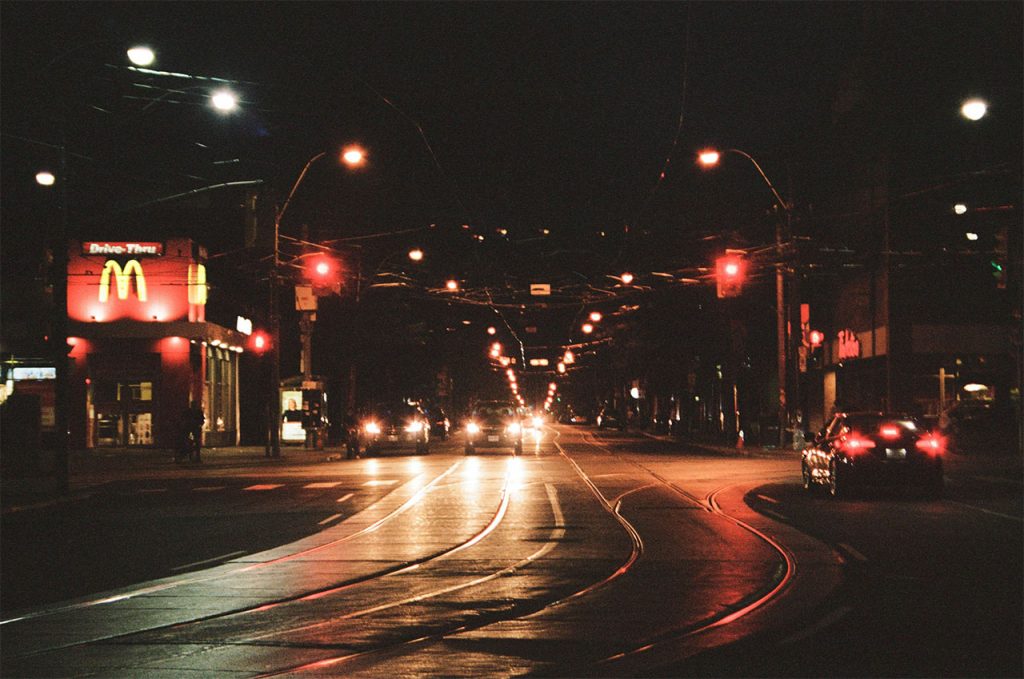
The subjects we choose for night photos generally don’t differ much from what we’d shoot during the day. However, their appearance changes dramatically. Daytime “distractions” like wires, poles, or antennas often fade into the darkness at night – they’re simply not lit. On the other hand, new challenges appear: harsh light sources that draw the eye and disrupt composition, especially when they’re near the edges of the frame. In urban areas with plenty of artificial lighting, you can still use your DSLR viewfinder without too much trouble. But as soon as you move away from the city into true darkness, even the viewfinder becomes difficult to use – framing becomes guesswork, and accurate focusing becomes a real challenge.
Getting Technical: Gear, Settings, and Creative Tricks
Now that we’ve covered the basics of exposure and the importance of manual control in night photography, it’s time to dig into the practical side of things. Shooting at night brings its own set of technical challenges, but with a little preparation and the right tools, you’ll be capturing stunning night shots in no time.
Equipment: What You Need (and What You Don’t)
To shoot long exposures or night scenes, one tool becomes absolutely essential: a tripod. When your exposure times stretch into seconds—or even minutes—there’s simply no way to keep the camera steady by hand. Even the slightest movement will ruin your shot.
If you don’t have a tripod, try to improvise. Rest the camera on a wall, a backpack, or any stable surface. Just make sure it won’t slide or shake during the exposure.
For even more stability and precision, many photographers also use a remote shutter release or set the camera’s self-timer to avoid shaking the camera when pressing the button. A lens with a wide aperture (like f/1.8 or f/2.8) can also be helpful, but it’s not a must—especially if your camera handles noise well at higher ISO levels. What’s more important is that your camera allows full manual control and preferably supports shooting in RAW format, which gives you far more flexibility when editing later.
Settings: Where to Start
Manual mode might seem intimidating at first, but once you understand the logic behind it, it becomes your best friend for night shots.
Here’s a simple starting point:
- Shutter speed: For night scenes with little movement, start with a 5–15 second exposure.
- Aperture: Somewhere between f/5.6 and f/11 depending on your lens and desired depth of field.
- ISO: Keep it as low as possible (like ISO 100 or 200) to avoid unnecessary noise.
Take a test shot, review it, and adjust. If the photo is too dark, try increasing the exposure time or ISO slightly. If it’s too bright, shorten the exposure or close the aperture a bit.
Remember, the light sources in your scene (like street lamps or car headlights) can easily “blow out” your highlights, so check your histogram if your camera has one.
Focus: A Common Challenge
Autofocus struggles in low light—no surprise there. If your camera is hunting for focus and can’t lock on, switch to manual focus. One helpful trick is to use live view and zoom in on a bright point in the frame (like a streetlight or star), then manually fine-tune until it looks sharp.
It might take some time, but once you lock in focus, it’s worth the effort.
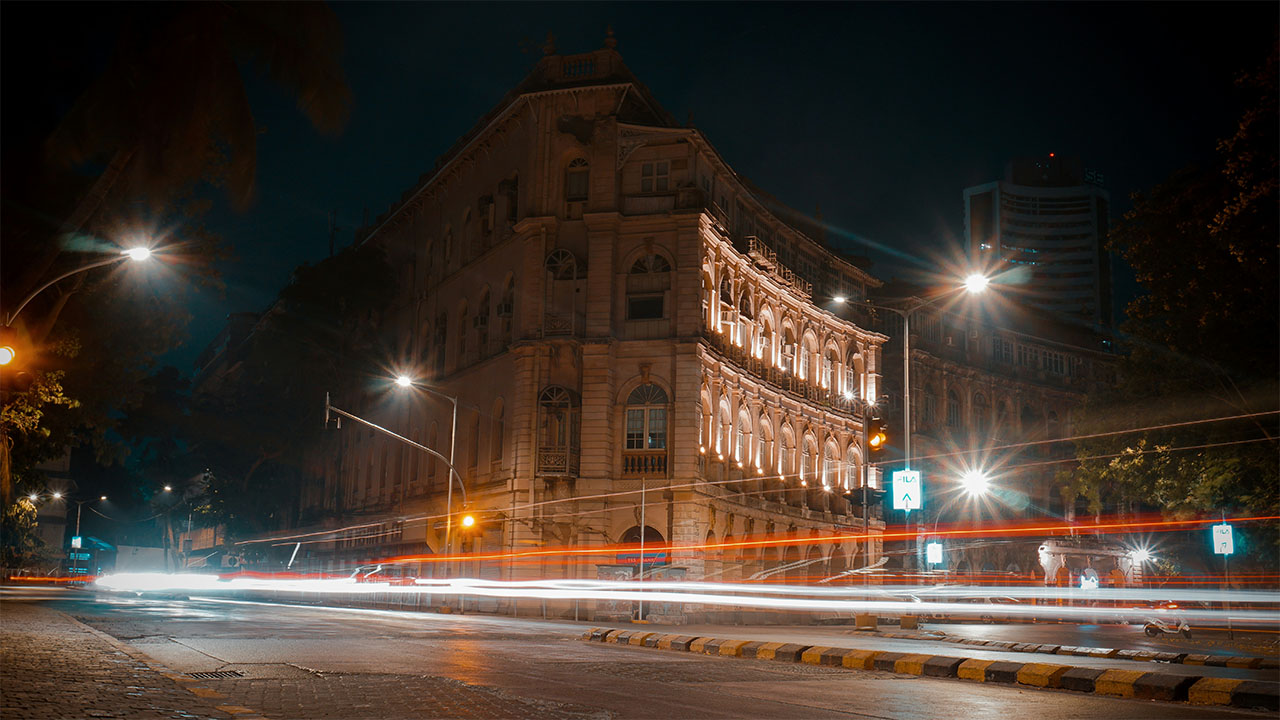
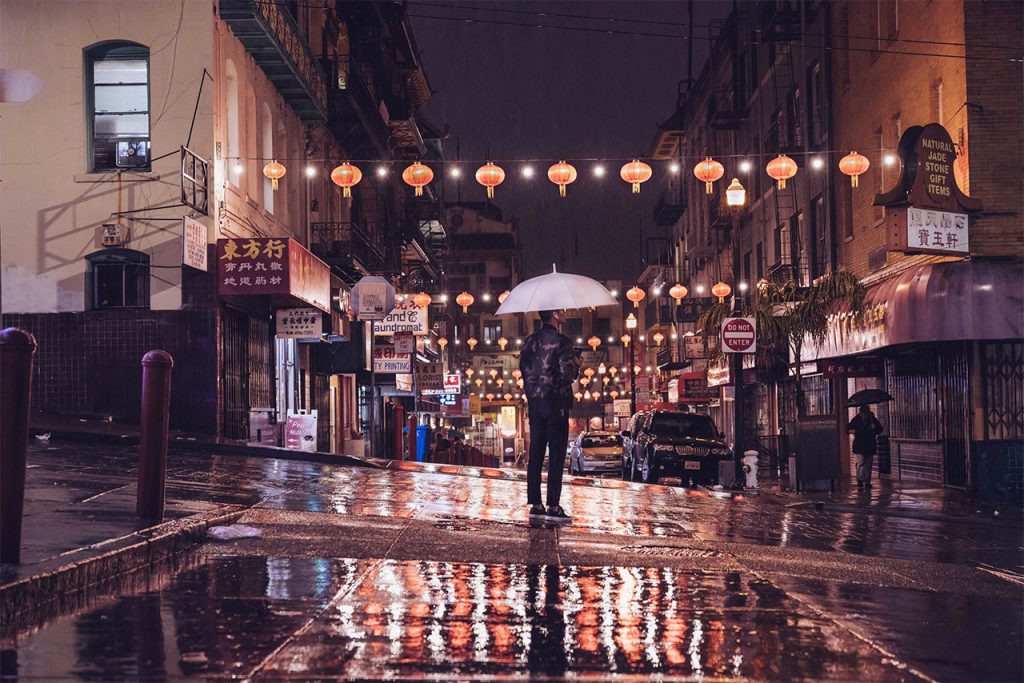
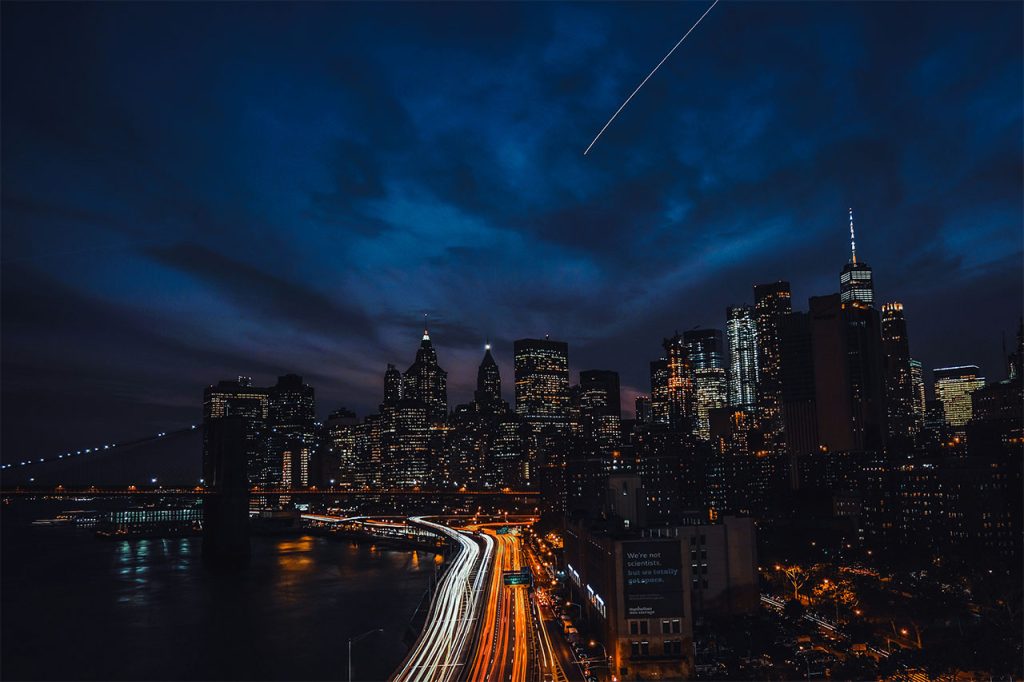
Embrace Creativity: Light Trails, Reflections, and More
Night photography isn’t just about getting a technically correct photo—it’s about creating something magical.
- Try capturing light trails from passing cars on a busy street.
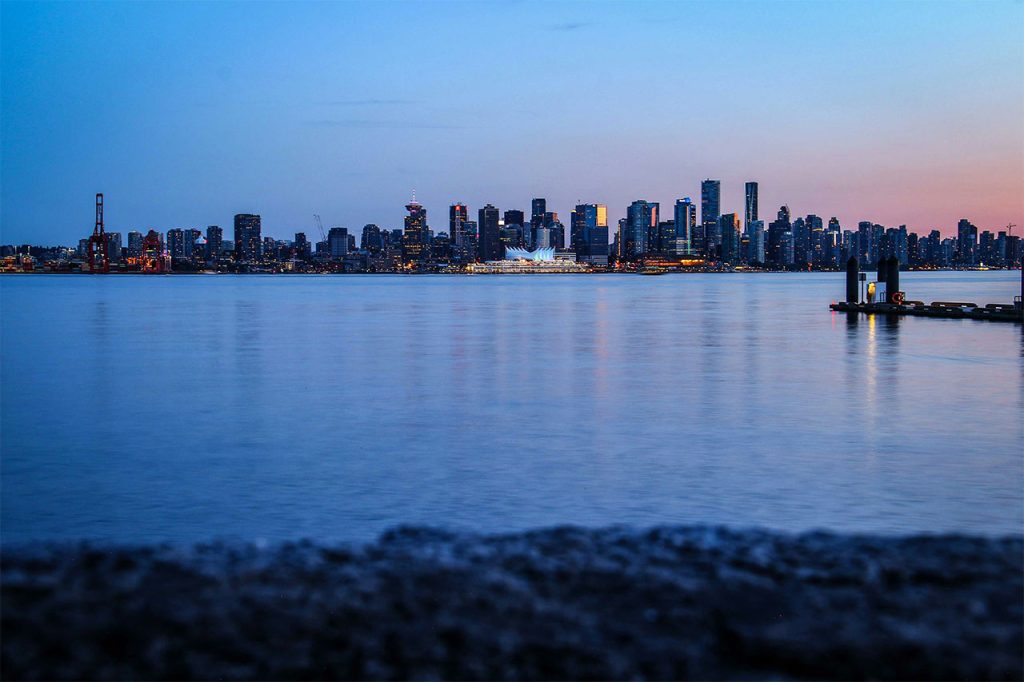
- Use water puddles for reflections of city lights or architecture.
- Shoot during blue hour (just after sunset) for that perfect mix of natural and artificial light.
- Experiment with intentional light painting using flashlights or glow sticks.
Let your imagination run free—nighttime is full of opportunities for unique and unexpected results.